
What do you do to your leftover candles? Do you just throw them out? Now, imagine you buy a candle that won’t burn? Will you also discard them? Instead of wasting your leftover candle wax, make wax melts.
Can you use leftover candle wax in a wax melt warmer?
Candle wax generally is the same wax that is used in a typical wax melt just without the wick. Because of this it means that you can easily and safely use leftover candle wax in your wax melts warmer as a makeshift wax melt. Simply put, yes you can use candle wax in a wax warmer.
Truth be told, no one wants a half-burned candle. In instances like these, you can always almost see fragrance in the unburned portion. However, the wick is too short to reach far down and completely burn the candle. Before you pop a new candle or throw out the old one, you can reuse and repurpose it into the candle wax.
What are wax melts
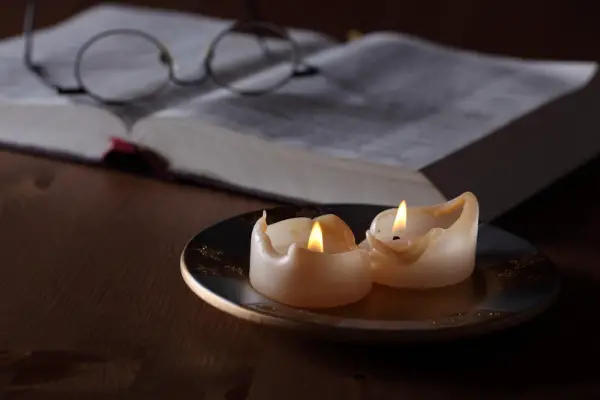
Wax melts are scented wax without a wick. In other words, they are just like your candle, except that the melts don’t have wicks. Wax melts also come in different shapes and sizes, and you can break them to release the trapped fragrance. You will need to gently melt the wax in a wax warmer.
To learn more about what wax melts are and how to use them check out my helpful guide.
Can I reuse wax melts?
You can reuse your wax melts up to two or three times. Each melt provides up to eight hours of fragrance. Do note, though, that different candle brands have varying burn times. Nonetheless, you will get up to six hours on your wax.
You can reuse your wax melts several times until the scent slowly and completely disappears. Since warmed wax doesn’t evaporate, you can use it until the scent dissipates. You can make wax melts from paraffin, soy, and beeswax.
How to melt leftover candle wax in a wax melt warmer
A wax warmer release the fragrance of wax melts using a different heat source. If you have never used a melt warmer before, let us show you how to.
Set up your warmer
Melt warmers are available in different varieties. However, most require you to plug it directly into a word. In other words, the warmer has a cord that goes into a wall. The warmer also comes with bowls on top that act as a hot plate. In some cases, some warmers use a small but hot light bulb or a small tealight for warming the wax. In this case, you don’t need to plug the warmer into a light source.
Put the wax in the warmer
After setting up the warmer, put small chunks of wax into the small bowl on top of the device without overflowing the bowl. If you add too much wax, the bowl will overflow when the wax melts. As we mentioned earlier, wax melts come in different sizes. Therefore, the wax warmer will hold different amounts. You can put a silicone baking cup in the wax warmer before putting the wax so that you can remove it easily after it solidifies.
Start the warmer
The wax warmer has a simple plug-and-use operation just like your blender, mixer, or simple house gadgets. Depending on the design, you will need to use a small on/off switch or simply plug it into the wall. After switching the unit on, it will start operations, and your wax will start to heat up.
For warmers with bowls, set the bowl back on top after turning it on. On the other hand, warmers with a touch lamp will come on after you touch the base of the lamp to power it on. Then, the light bulb will heat the wax. Lastly, for a warmer with a tealight, place the wax in the holder, light it, and set the bowl on top.
After the warmer runs for a while, the wax won’t give off any scent again. When this happens, pour out the wax and put new ones in. Repeat the entire process until all the wax is exhausted.
Remove your wax from the wax warmer
Let the wax completely cool on the warmer. Then, take the bowl containing the wax and put it inside the freezer for about 10 minutes. Be careful with this process and use a pair of gloves to avoid burning yourself. After cooling, take it out of the freezer and gently push your wax out of the bowl.
If you are using a tealight warmer that doesn’t have separate bowls, you can place the entire warmer inside the freezer.
If your wax does not come out immediately, you can place a couple of pieces of ice on it for a few minutes or pierce it with a skewer.
Don’t forget to clean your burner and your work area.
How to make wax melt without a warmer
You can still make wax melts even if you don’t have any type of wax warmer.
You will need:
- A small or large heat-safe pans
- Water
- Container
- Tongs
Place your candles in a small pan and place them over a larger pan of gently warming water on low heat. Let your candle sit in it until it slowly and completely melts.
Alternatively, you can use a microwave. However, remove any metal before you do so. Also, be careful not to carry out this procedure near plastic or even use plastic as the molten wax can melt your plastic.
Use a tong to remove the wick as the candle melts so that it does not add black color to the melt.
After melting, carefully pour the molten wax into a mold. Remember to protect your hands during the process. Then, put the mold into the freezer to make it easy to pop out.
Check out this cool guide to learn several different ways to use wax melts if you do not have a wax burner or warmer.
Conclusion
There are many ways to reuse leftover candle wax. For example, you can make new wax melts, egg carton fire starters, wax art, etc. However, it all starts with melting your wax. Luckily, the entire process is easy to carry out.
If you don’t have a warmer, you can use the alternative method we have highlighted above and still get the desired result. Happy melting!

I started Scents and Aroma as a way to share my knowledge from owning a candle, wax melt, diffuser and bath bomb business so that you can make your home smell lovely too.
- Can You Put Perfume In A Humidifier? (Read First) - September 17, 2022
- Can You Put Essential Oil In A Steam Mop? (Safety Advice) - September 17, 2022
- How To Make Lavender Oil At Home ( Candles And Diffusers) - September 9, 2022
