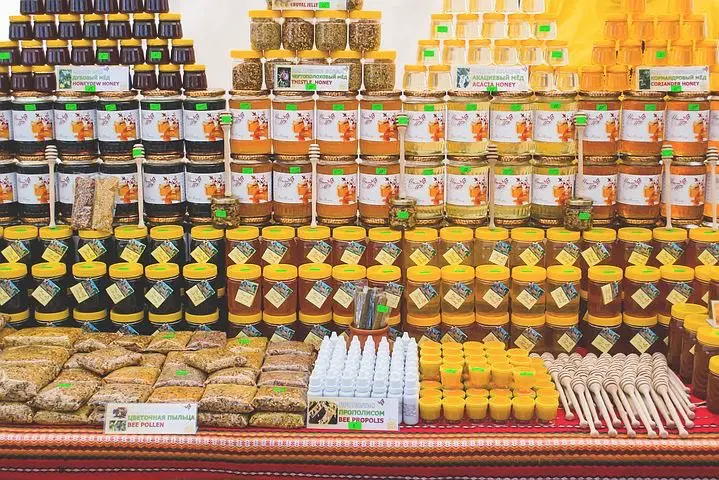
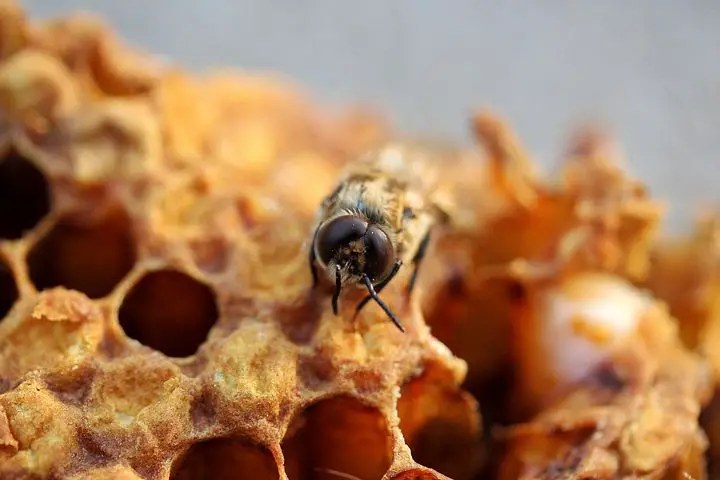
Beeswax is a common natural product made of the honeycomb of honeybees and other bees. The white color of honeycomb wax changes to brown or yellow due to the mixing of pollen oils.
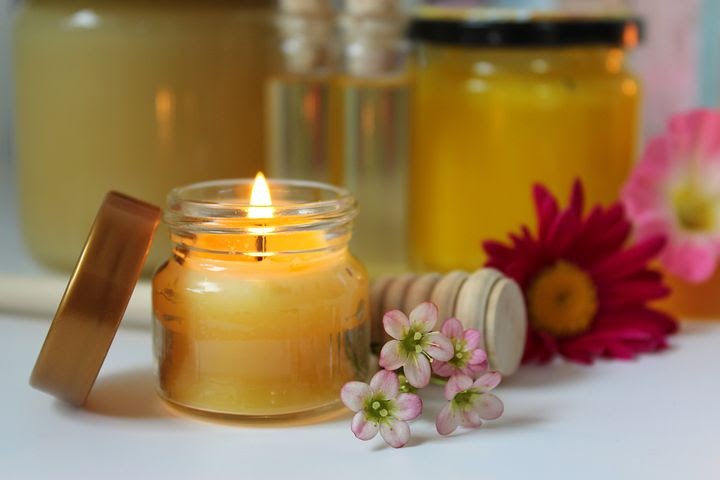
This product has many purposes. It’s utilized for fungal skin infections, pain, high cholesterol, and other conditions. It’s also great for making lip balms, body lotions, soaps, perfumes, deodorant, etc.
I love beeswax! It’s one of the ingredients I buy in bulk and always keep on hand for recipes. In today’s article, I will talk about the different things that you can make from beeswax at home, so if you’re interested, read on.
What Can You Make With Beeswax?
Thanks to the unusual properties, beeswax takes part in many DIY projects. It’s naturally super hard and super flammable. However, it’s also excellent for making lotions, soaps, balms, and candles among other things. It helps different balms keep their solid shape. It also burns steadily and cleanly in candles.
One of the biggest disadvantages of beeswax is that it’s hard and flammable, therefore it’s hard to work with. Additionally, if beeswax hardens anywhere, it can be a nightmare to remove. It’s also very difficult to measure out exactly if you’re utilizing large bars or chunks. Furthermore, it’s also very expensive.
Beeswax can only be made in a specific manner. Therefore, it’s hard to harvest and costs a lot of money per pound. The silver lining? A little goes a long way! The following section includes DIY projects you can make with beeswax. So, without any further ado, let’s learn how to put your beeswax to good use.

Bug bite and sting balm
Beeswax makes a perfect base for a calming bug bite and bee sting balm. It actually calms the itchiness and redness of stings and bites. Follow the next recipe and you will make this balm in 5 minutes.
Ingredients:
- 1-ounce pure beeswax
- 2 tablespoons avocado oil
- 2 tablespoon pure shea butter
- 5-10 drops lavender oil
- 1 teaspoon calendula oil
- 5-1 drops tea tree oil
Instructions:
Just mix all the ingredients in a small pan. Then, heat the pan over low heat. Once everything melts and blends together, pour the mixture into a small glass jar and let cool overnight.
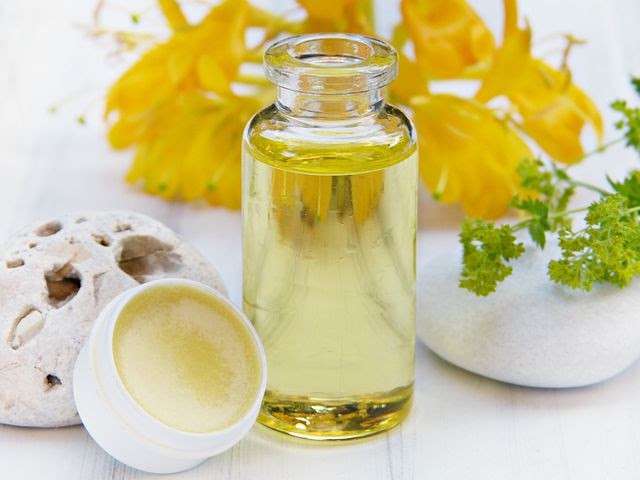
Lip balm
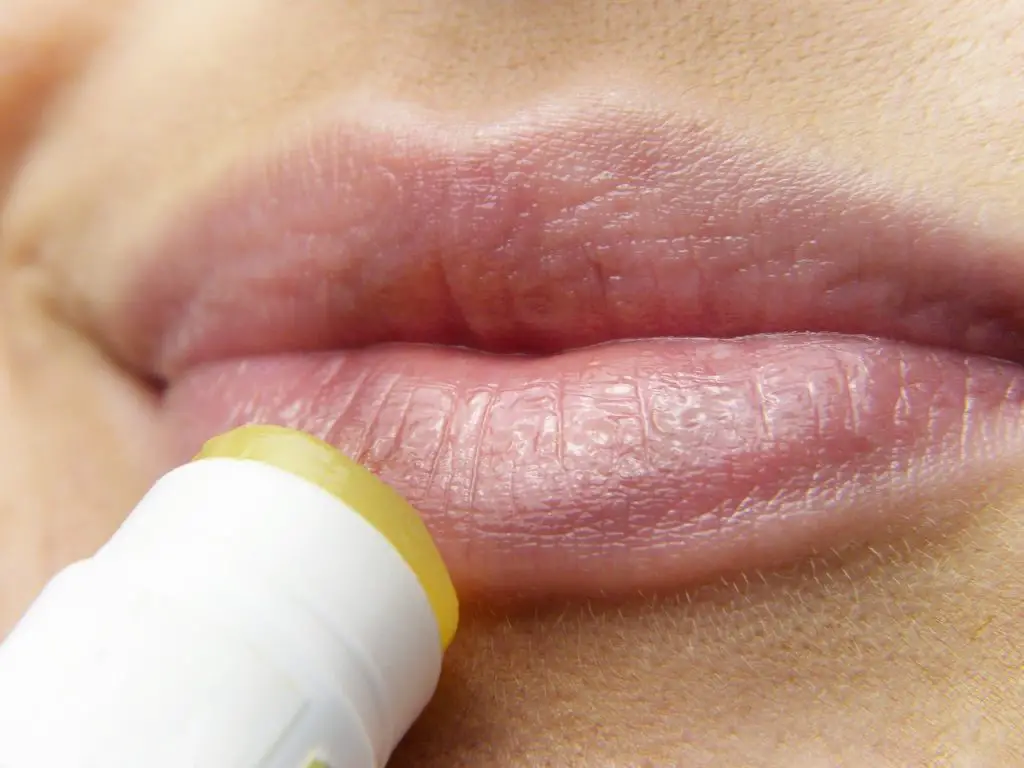
With beeswax, you can prepare a lip balm that doesn’t feel greasy like store-bought lip balms. The best part? You can pick your own scent! Just follow these steps and make your own lip balm.
Ingredients:
- 5 g shea butter
- 5 g coconut oil
- 10 g beeswax
- 10 g good-grade castor oil
- 10 drops vitamin E oil
- 10 g sweet almond oil
- 7 drops peppermint essential oil
- 3 drops bergamot essential oil
- 3 drops lemon essential oil
Instructions:
In a double boiler, melt your beeswax, coconut oil, and shea butter together. If you don’t have a double boiler, you can use the microwave at medium-low. Then, add the rest of the ingredients to the melted mixture and stir to combine. Rewarm if necessary to keep your balm liquid and warm.
Pour the melted mixture into clean lip balm tubes or shallow tins. Your homemade lip balm will last for 6 months. Keep in mind that the essential oil scent may disappear over time, however, you can repair your chapped or dry lips as often as needed. Homemade lip balm makes a great gift as well.
If you are interested in more beeswax lip balm recipes have a look at this full and awesome guide that I wrote.
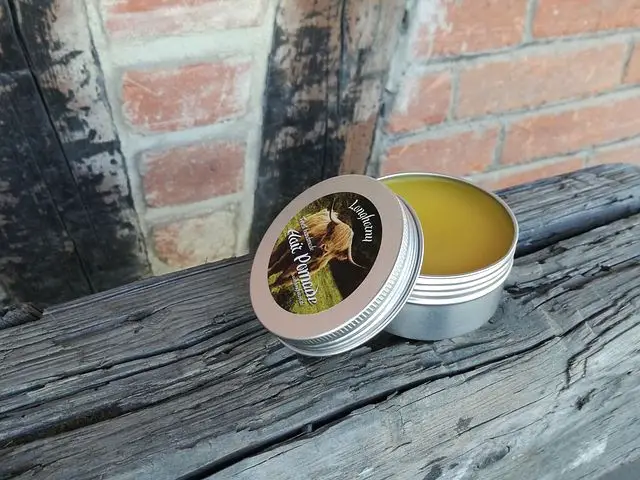
Hair pomade
Looking for the perfect hair pomade that will keep your wild hair in line? If so, maybe it’s time to make a hair pomade at home with some simple ingredients. Instead of buying hair products that contain various chemicals, follow the next recipe and make your own hair pomade out of natural ingredients.
Ingredients:
- 2 ounces almond oil
- 1-ounce beeswax
- 1.5 ounces organic and unrefined shea butter
- 1/4 tablespoon essential oil of your choosing
Instructions:
Add some water into a saucepan. Then, bring the water to a simmer and put a heatproof bowl over the top. Melt your beeswax completely in this bowl before you add your shea butter.
Once it’s melted, take the bowl out of the saucepan and add the essential oils and almond oil. Lastly, put the mixture into a jar with a lid. Voila! You have a natural and effective hair pomade.
Deodorant
You can make a natural deodorant that’s just as effective as store-bought deodorants with beeswax. Just follow the next steps and create your own deodorant without any harmful chemicals.
Ingredients:
- 2 tablespoons shea butter
- 3 tablespoons baking soda
- 3 tablespoons coconut oil
- 2 tablespoons arrowroot powder (you can also use organic cornstarch, however, it’s optional)
- Essential oils of your choosing (optional)
Instructions:
Add the coconut oil and shea butter to a quart-size jar, then put the jar in a saucepan of water. Heat the saucepan over low heat until these two ingredients melt together.
Once they melt together, remove the jar from the heat and add the arrowroot powder and baking soda. Mix the ingredients well before you add the essential oils. Finally, pour the mixture into a glass container for storage. You don’t need to store your new deodorant in the fridge.
If you want, you can let it cool down for a few hours and add it to your old deodorant sticks for easy use. Keep in mind that your natural deodorant may melt in the summer.
Mustache wax
If you have a mustache or beard but don’t like store-bought waxes, you’re in luck because you can make a mustache wax with natural ingredients such as beeswax and coconut oil.
Mix equal parts of these two ingredients and melt them in the same pot. Then, place the mixture into a small container. Let it cool overnight and voila! You have a mustache wax.
Coat your tools
You can use beeswax to coat your tools like shovel and garden fork to protect them from rusting as well as the elements. Just take a bar of beeswax and rub it on the metal parts. Then, use a clean fabric to buff out any excess. It’s a cheap and effective solution that will keep your tools safe!
Use on baking pans
Buff out beeswax onto your baking pans and sheets and they will look as good as new. Just use a cloth to rub some beeswax onto the surface. Then, cook with your pans and sheets as usual. The best part? They will develop a layer of wax over time, so you don’t have to use oil every single time.
Unstick zippers
After months or years of not being used, zippers become very stubborn. Fortunately, beeswax can help! Just rub a small portion of beeswax along the teeth of your zippers and the problem is fixed.
Use on wood chopping board
You can also use beeswax to keep your wood chopping board fresh. Melt half-teaspoon beeswax with a cup of mineral oil. Then, add the mixture to your board with a clean fabric. This solution will moisturize your wood chopping board as well as other wooden surfaces like spoons, spatulas, etc.
If you mix 1 part beeswax with 3 parts coconut oil or olive oil, you will get a polishing solution. Just melt these ingredients over a double boiler. Let it cool and harden. Then, run onto the furniture using a clean cloth. End your polishing with another clean towel to buff until all the residue vanishes.
Make your bronze products shine!
If you have candle holders, you can make a mixture of 1/3 pound beeswax and 1-quart turpentine. Then, use a clean cloth to buff and apply a coat to your bronze products. This solution will prevent your bronze items from getting tarnished as well as restore their shine.
Waterproof your shoes
First and foremost, clean your shoes. Then, rub beeswax right on the surface with a clean cloth and use a hairdryer to set in. Remove any excess wax with a towel and voila! You have waterproof shoes thanks to the beeswax. It’s truly a great product with many uses, isn’t it?
Create crayons
Last but certainly not least, you can make your kids happy by making some crayons out of beeswax. Just mix equal parts of soap shavings and beeswax. Melt the two ingredients in a double boiler.
Once melted, add the mixture into molds. Add a couple of drops of food coloring to each mold to obtain different shades. Stir until mixed. Allow the crayons to harden for a few hours or overnight.
Wrap Up
Have you tried any of these DIY projects? What’s your favorite DIY project with beeswax? Do you have a project that you would like to share with other people? Drop a comment below and let’s chat!

I started Scents and Aroma as a way to share my knowledge from owning a candle, wax melt, diffuser and bath bomb business so that you can make your home smell lovely too.
- Can You Put Perfume In A Humidifier? (Read First) - September 17, 2022
- Can You Put Essential Oil In A Steam Mop? (Safety Advice) - September 17, 2022
- How To Make Lavender Oil At Home ( Candles And Diffusers) - September 9, 2022