
Globally, the candle market is worth around $8.38 billion USD, with a forecast increase to 13.72 billion by 2026. The United States alone utilizes 1 billion pounds of wax to make candles, yet most of that wax is wasted.
The candle can no longer burn once the wick has entirely burnt and no longer catches fire. What’s left is excess candle wax on the jar’s edges and bottom; Bath & Body Works candles are renowned for this.
Isn’t it true that when a candle melts, it’s the end of it? No, not exactly.
Instead of tossing it away, repurpose the candle wax from old candles to produce new ones. It’s a terrific DIY project in a box that allows you to get a bit extra life out of your favorite candles without having to dig for your pocketbook.
Directions To Melt Candle Wax
Preparation
Determine how much wax you have on hand. Soak your candles in a shallow dish or coffee cup (about 6 inches deep) to see whether there’s enough. Pouring the candles into a container is an option if the quantity is little or if you want a simpler technique.
Add approximately an inch of water to a big pan. Bring to a simmer.
In the bigger pan, place a saucepan, metal dish, or coffee cup. Don’t combine various types of wax, such beeswax, paraffin, and soy wax.
Add your old candles into the smaller container.
Even if two candles of the same wax kind have distinct colors or scents, it is okay to mix them.
Attach the sensor end of a candy thermometer to the pan’s side with a piece of tape so that it may be clipped in place. 185 degrees Fahrenheit is the ideal melting temperature for wax.
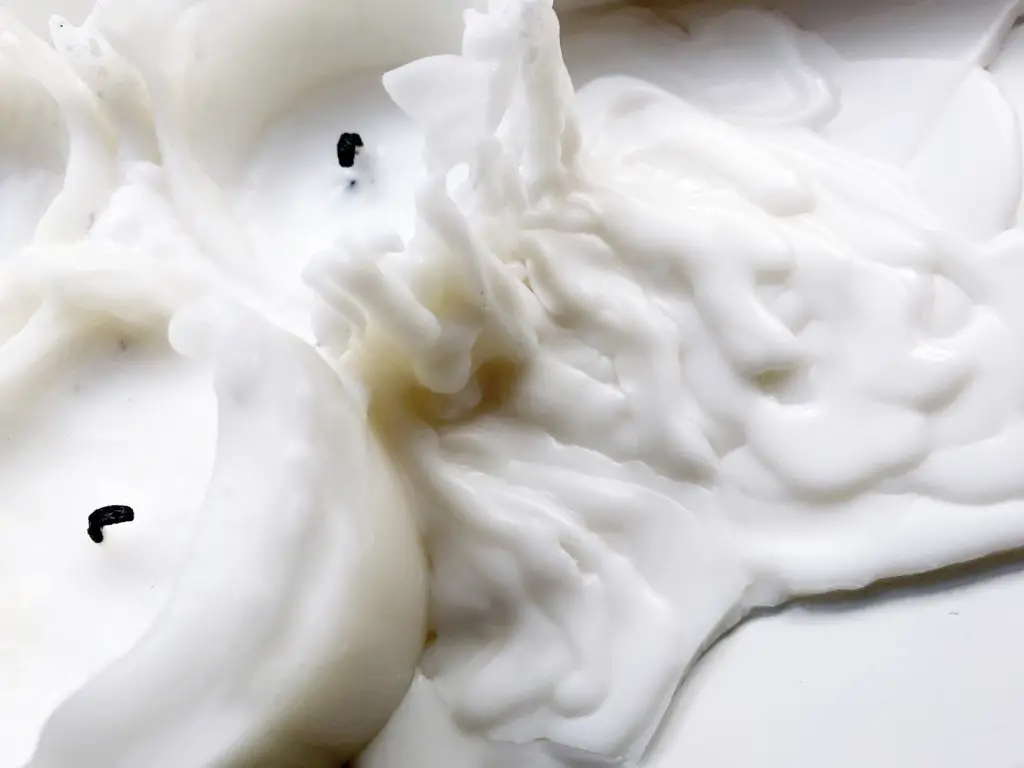
Use a spoon or fork to remove the melted wax’s charred fragments, unused wick, and other debris.
Candles may be made more fragrant by adding 1/2-1 ounce of essential oil, such as geranium. Stir well before proceeding.
Make Pouring Candles
Glass or ceramic containers like a shot glass or teacup should be cleaned and dried.
At least 2 inches longer than the height of your container, cut a piece of thread or wicking. Wrap a spoon or fork around your wick. To coat it, dip it briefly into the wax.
Your container’s center should be directly over your utensil when you do this. Adjust the wick to the point where it just touches the bottom of the pot.
Place the wick in the center of the container after adding a little quantity of wax to the bottom. Repeat this process, filling the container to the rim by about 1/4 inch.
To make a fresh candle, wait about an hour for it to harden before cutting the wick at the top to approximately 1/4 inch.
Tip: Every four hours or before each use, cut the wicks of your candles to 1/8 of an inch to avoid the formation of what’s known as a “mushroom wick.” When the wax in a candle burns too slowly for the wick, it forms this shape. The wick then sucks up the wax and forms a mushroom-like cluster of carbon particles. Using scissors or a nail clipper, cut the carbon “cap” and straighten the wick using your fingers or a tweezer to remedy this problem.
Make Dipping Candles
Assemble the melted wax in a deep, thin container. Your dipping wax should ideally be at least 6 inches deep.
String a clothesline or drape a broom handle over the backs of two chairs or other stable supports. This is where dipped candles will be hung to dry.
Cut your string or wicking to at least 16 inches in length. Tie a fishing weight, a metal nut, or a couple of coins on either end.
Hold the thread in the center and dip both ends into the wax until the candle is the desired length. Remove and set aside for four seconds to cool.
Repeat this process, allowing your candles to cool for a few seconds between dippings, until they reach the desired size.
Hang the candles on your line or broom handle, being careful not to let them contact. Allow them to stand for a full day before removing the weights and trimming the wick to approximately 1/4 inch.
After Completion
Allow the wick to burn for two hours the first time you light your new candle. This will make lighting easier the next time.
The melting points of various kinds of wax vary. When you’re melting wax, keep an eye on it: if it starts to smoke, it’s too hot. For best results, reduce the temperature to 165 degrees Fahrenheit.
Risks You May Encounter
Because not all candles are created with the same components, not all candles have the same boiling point values. The essential oils mentioned on the back of a 12-pack of 99 cent votive candles from a 99 cent store are not the same as those found in Public Goods candles. Remember this when combining different waxes (or any wax for that matter) to produce a candle. Alcohol, which is used in certain candles, has the potential to catch fire. Never leave an unattended hot plate, burner, or glue gun.
Time To Mix And Match
We hope you gained some knowledge today! Who knew it was so simple to make a new candle from an old one? Now that you know how to creatively repurpose candle wax, go ahead and make your own!
The degree of inventiveness and variation in this DIY project is what makes it so enjoyable. You may combine various melted waxes from previous candles to make new combinations such as white tea and lavender, black currant and vanilla, or heated tobacco pipe with cedar and suede. Pour different colored melted wax into a glass jar to create multicolored layers.
What did you think of this inventive and gratifying DIY for reusing candle wax? Please share your thoughts in the comments box below!

I started Scents and Aroma as a way to share my knowledge from owning a candle, wax melt, diffuser and bath bomb business so that you can make your home smell lovely too.
- Can You Put Perfume In A Humidifier? (Read First) - September 17, 2022
- Can You Put Essential Oil In A Steam Mop? (Safety Advice) - September 17, 2022
- How To Make Lavender Oil At Home ( Candles And Diffusers) - September 9, 2022